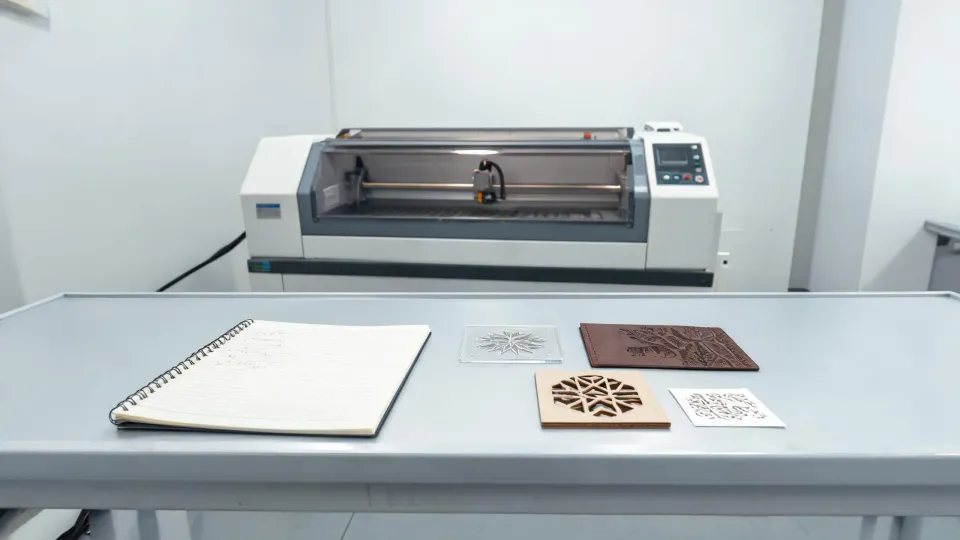
Last month, a repeat client sent me a reorder. Same file, same material, same Boss Laser cutting machine we'd used for months. But the cut edges came out darker than before.
I opened the Boss Laser settings chart. Turned power down, speed up, frequency down. Still dark. Then I cleaned the lens and—boom—back to normal.
The settings chart wasn't wrong. The machine had drifted.
This is the kind of lesson I usually have to pay for. I run a small production shop, eight years now. I've personally made—and documented—27 significant mistakes that cost roughly $11,000 in wasted budget. These days I maintain our team's checklist so nobody repeats my errors.
The Symptom I Kept Chasing
If you search for "boss laser settings chart", you'll find a bunch of screenshots and forum threads. People asking for "perfect" settings for plywood, acrylic, MDF, leather. They get answers, try them, and often they work. If you're lucky.
But no amount of scrolling will fix a machine that's out of tune. It's tempting to think the answer is somewhere on the internet. It's not. It's behind the lens cover.
In conversation with other shop owners, this trap is everywhere. A bad batch of engraving is blamed on the material. Then on the humidity. Then on the file. Then on the software update. Rarely does anyone check the optics, the focus, or the cooling.
What's Actually Causing Inconsistent Results
The underlying problem isn't a missing settings chart. It's that your machine isn't in the same condition as when the chart was created.
Here's what I check now:
- Lens and mirror contamination. A thin film of residue scatters the beam. You won't see it on a quick glance, but the cut tells you.
- Beam alignment drift. Over months, adjustments vibrate loose.
- Focus offset. Especially after changing lens or cutting different thicknesses.
- Cooling efficiency. If your chiller is running warm, the beam behaves differently.
- Material batch variation. Plywood from the same supplier can vary by density.
But the deeper issue is mental. We want one magical chart that works forever. I kept trying to solve a mechanical problem with a software solution. That's the real mistake.
I remember when we started using a QCW fiber laser for marking. We used the manual's recommended settings, and the results were patchy. My first instinct was to blame the machine. Then I discovered the core alignment was off and the fiber cable had a tight bend. Nothing to do with settings.
This might not surprise engineers, but it surprised me. I once spent an hour reading a patent—US8917965B2, laser optical fiber storage device—and realized engineers actually patent ways to coil a fiber properly. That's how much the mechanical setup matters. Me? I just assumed the machine was factory-perfect forever. That was naive.
We also have a CLX fiber laser in the shop for engraving metal. It's been reliable, but it taught me the same lesson. If we don't keep it clean and aligned, the contrast starts to fade. First reaction? More power. That makes it worse.
The Hidden Cost of Blaming the Settings
The price isn't just ruined material. It's the damage to your credibility.
In September 2022, we had a $3,200 order for engraved awards. The engraving depth was inconsistent. I didn't check the obvious stuff. Instead, I kept adjusting power and speed. By the time I found the dirty lens, I'd done three failed test pieces.
We re-did the order. $450 in materials and labor, plus a week of delay. But the real damage was to the client's trust. The boss of that company never yelled at me. He just quietly moved to another shop. When I asked why, he said: "It's not the money. We just got the feeling you didn't have your process under control."
That's when I understood something important. Quality isn't just about making things look nice. It's your brand image. Every part you ship is, in a sense, an advertisement. If it looks inconsistent, you're advertising that sloppy work is acceptable.
And once that reputation sticks, it's hard to change. I can tell a customer "we'll fix it," but they'll still remember that the first one came out wrong.
What I Do Instead (Short Version)
So no, I don't have a universal settings chart. But I have something better: a pre-flight ritual.
- Clean the lens and mirrors.
- Check beam alignment using the machine's built-in test.
- Run a baseline cut on a scrap piece using parameters saved from the last good calibration.
- Compare that test result with the benchmark.
- If the result matches, start the job. If not, it's a maintenance problem, not a settings problem.
According to ANSI Z136.1, laser equipment should be maintained by qualified personnel. It's a safety standard, not a quality standard. But a well-maintained laser is a predictable laser, and predictable is what you need.
This was accurate as of January 2025. Software and machine models change, so verify your own baseline. I'd recommend saving a reference sample from the day you calibrate the machine, then comparing against it monthly.
That's the whole system. Not dramatic. It works.
A $11,000 lesson. 27 documented mistakes. But the costliest part was almost giving up on the craft.
Now, when a job starts to go sideways, I don't touch the settings chart until after I've cleaned the lens.
Seriously. Clean the lens first.
That's it.